Launching the migration tool
You have two options to launch the migration tool:
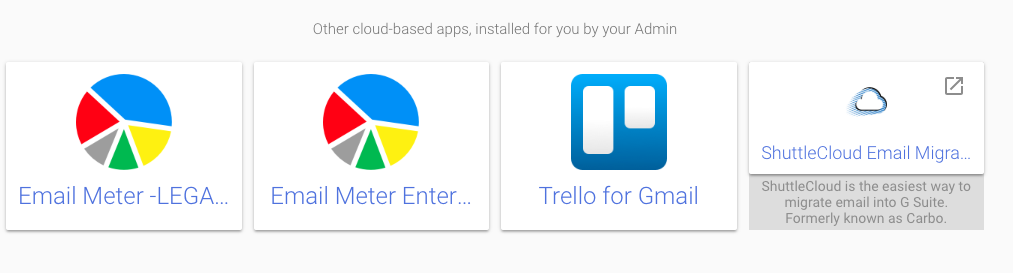
1. Visit admin.google.com, scroll to the bottom where you'll reach the Other cloud-based apps, installed for you by your admin, select Email Migration (Cloudasta by ShuttleCloud):
2. You can also access the migration tool by visiting migration.cloudasta.com.
Using Cloudasta as an Administrator
Once you launch the app, you will be taken directly to the email migration screen pictured below. From here, as an administrator, you will be able to migrate messages from any IMAP enabled email account to any Google account. Note that this could be your Workspace Domain account, a user account within your Workspace Domain, or even a personal Gmail account.

In Step 1, you will be selecting your source account or the email address from which you are migrating emails. There are three main options:
- My Domain - Select this option if the source account is an email address associated to your G Suite domain. As an administrator of the domain, you will not need to enter password information.
- Supported Providers - Select this option if the email address is not associated with your G Suite account. Such as Gmail, G Suite, Outlook, Yahoo, etc. You will be required to enter the account’s login credentials.
- If your provider is not supported, you can perform the migration using the IMAP option (e.g., Office 365 and other custom IMAP servers). You can read more about this option in this support article.
Step 2 is very similar, except you will be selecting the destination account to which the emails are migrating into, this can be an account in your G Suite domain or a consumer @gmail.com email address.
In Step 3, you'll add your contact email.
Using Cloudasta as a Non-Admin
If you are using Cloudasta as a Non-Admin, you will encounter similar steps to the ones detailed above: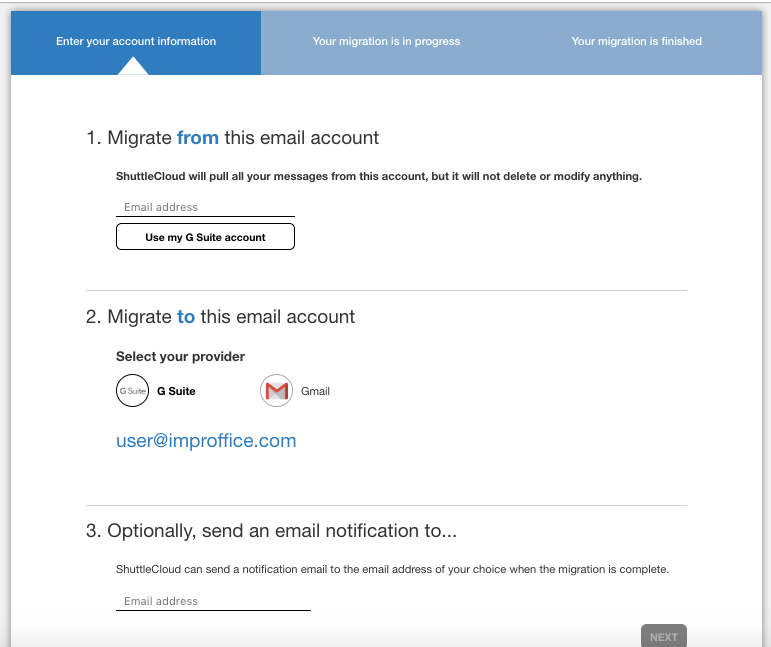
In Step 1, you'll input your old email provider.
**Note*** If your provider is not supported, you can perform the migration using the IMAP option. Click here for more information.
In Step 2, you will be auto-selected into your G Suite account.In Step 3, you'll add your contact email.